
- About us
- Services
- E-Commerce Development
- White Label Marketing
- Digital Marketing
- Mobile App Development
- Other Services
-

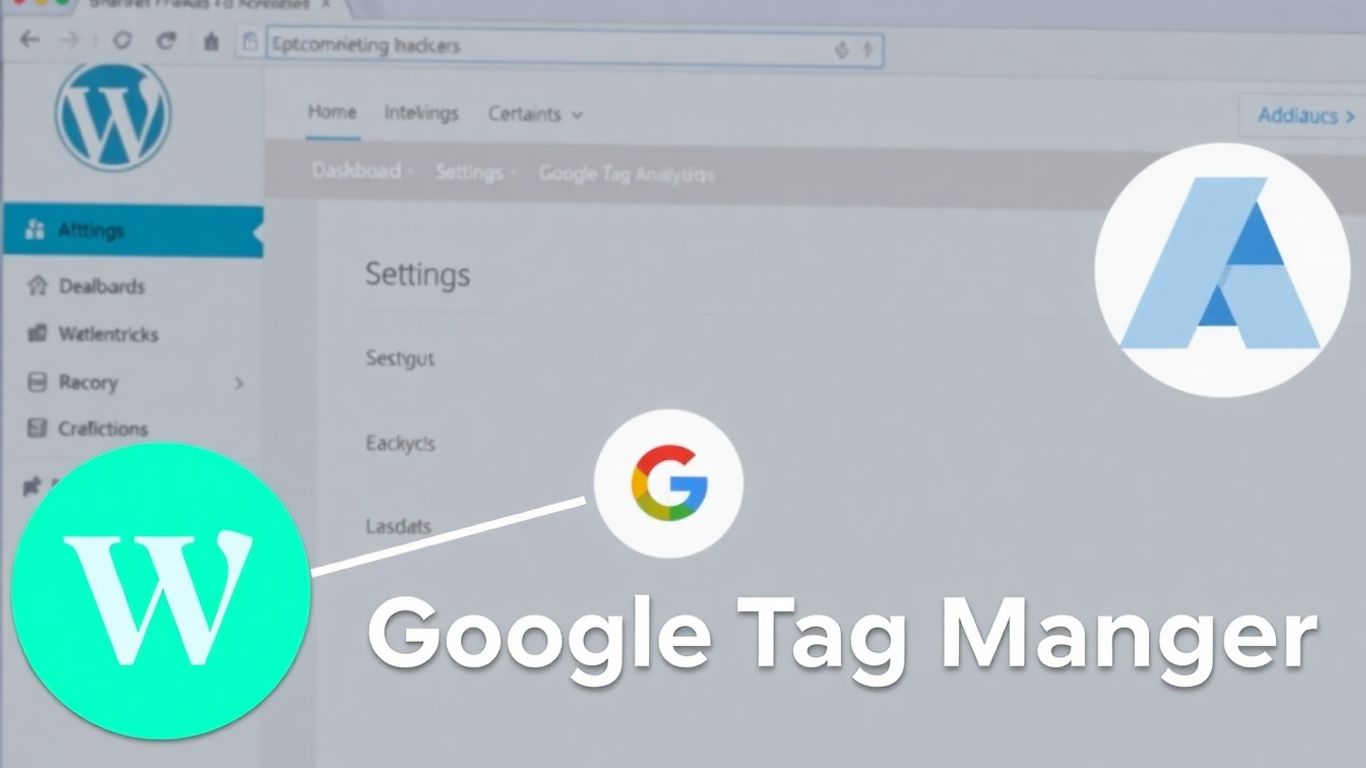
So, you’ve got a WordPress site and you’re hearing a lot about Google Tag Manager. It sounds important, but maybe a little intimidating? Don’t worry, it’s not as complicated as it seems. Basically, it’s a way to manage all those little bits of tracking code you need on your website, like for analytics or ads, all from one place. This makes your life a lot easier, especially if you’re not a coding whiz. We’ll walk through how to get it set up on your WordPress site step-by-step.
So, you’re looking to get a better handle on what’s happening on your WordPress site? That’s where Google Tag Manager, or GTM, comes in. Think of it as a central hub for all the little bits of code, or ‘tags,’ that track user activity and help you understand your audience. Instead of digging into your website’s code every time you want to add or change something, GTM lets you do it all from one easy-to-use dashboard.
Google Tag Manager is a free tool from Google that simplifies how you manage tracking codes. You know, those little snippets of code that tell you how many people visited a page, or if someone clicked a specific button? Normally, adding these means messing with your website’s files. GTM changes that. It gives you a single place to add, edit, and manage all these tags without needing to be a coding wizard. It’s pretty similar to how you manage plugins on WordPress – you add them, configure them, and they just work.
If you’re already using Google Analytics, GTM makes it even better. It integrates smoothly with Analytics and other marketing tools. But GTM goes beyond just basic analytics. You can track specific actions, like video plays, form submissions, or even how far down a page a user scrolls. This gives you a much clearer picture of how people are actually interacting with your content. It’s like having a super-powered magnifying glass for your website’s performance. Using a plugin like WPCode can make adding GTM to your WordPress site much simpler, taking the guesswork out of the process.
GTM allows for precise tracking of user behavior, providing insights that go far beyond standard analytics reports. This means you can make more informed decisions about your website’s content and design based on real user interactions.
Here’s a quick look at why it’s a good idea:
Alright, so you’ve decided to get Google Tag Manager (GTM) up and running on your WordPress site. That’s a smart move! Before we can actually put any code on your website, we need to get your GTM account set up. It’s not too complicated, honestly.
First things first, you’ll need to head over to the Google Tag Manager website and click that ‘Start for free’ button. If you’re already logged into your Google account, it should take you straight to the account creation page. If not, just log in with the Google account you want to use for managing your tags.
Once you’re on the ‘Create account’ page, you’ll see a couple of fields.
There’s also a checkbox about sharing data anonymously with Google. You can decide if you want to check that or not. Then, just scroll down and hit ‘Continue’.
Now, you need to set up a ‘container’. Think of a container as a little box that holds all your tags for a specific website or app. Since we’re working with a website, you’ll want to select the ‘Web’ option.
For the ‘Container name’, it’s usually best to just use your website’s domain name, like yourwebsite.com. This makes it easy to remember which container belongs to which site. After you’ve entered that, click the ‘Create’ button.
After clicking ‘Create’, a window will pop up from the right side of your screen. This is the Google Tag Manager Terms of Service agreement. You’ll need to read through it (or at least scroll through it!) and then check the box at the bottom to accept the data processing terms. Once you’ve done that, click ‘Yes’ at the top of the window to finalize the account and container setup.
You’ve now successfully created your Google Tag Manager account and container. The next step will be getting the actual code snippets that you’ll need to add to your WordPress site. Don’t worry, we’ll cover that next!
And that’s it for setting up the account itself! It’s pretty straightforward, right? You’ve got your account, you’ve got your container, and you’re ready for the next part, which is getting those snippets onto your WordPress site.
Alright, so you’ve got your Google Tag Manager account set up and your container created. The next big step is getting those code snippets onto your WordPress site. These little pieces of code are what actually connect your website to Google Tag Manager, allowing all that tracking magic to happen. Don’t worry, it’s not as scary as it sounds.
After you’ve accepted the terms of service in Google Tag Manager, you’ll be presented with two code snippets. Think of them as the keys to your tracking kingdom. One snippet is designed to go in the <head> section of your website’s code, and the other goes in the <body> section. It’s really important to get these in the right places for GTM to work correctly.
Here’s what they generally look like:
<script async src="https://www.googletagmanager.com/gtag/js?id=GTM-XXXXXXX"></script> and includes a gtag('config', 'GTM-XXXXXXX'); line.<iframe src="https://www.googletagmanager.com/ns.html?id=GTM-XXXXXXX" height="0" width="0" style="display:none;visibility:hidden"></iframe>.You’ll need to copy both of these snippets exactly as they are provided. Don’t try to change them or guess what they mean. Just copy them, and we’ll figure out where they go next.
Now, how do you actually get these snippets onto your WordPress site? You’ve got a couple of options, but honestly, using a plugin is usually the easiest and safest route, especially if you’re not super comfortable messing with code. It’s like having a helpful assistant who knows exactly where to put things.
There are several plugins out there that can help with this, but a popular and straightforward one is WPCode. It’s designed specifically for adding custom code snippets to your WordPress site without you having to touch the theme files directly. This is a big deal because if you mess up the theme files, you could break your whole site. Yikes!
Here’s the general idea when using a plugin like WPCode:
This method keeps your GTM code separate from your theme, meaning if you ever switch themes, your GTM setup stays put. Pretty neat, right?
Okay, so the plugin route is great, but what if you’re feeling a bit more adventurous, or maybe you just prefer to do things the old-fashioned way? You can also add the Google Tag Manager code snippets by directly editing your WordPress theme files. Just be warned: this method requires a bit more care.
If you choose this path, you’ll be looking for a file header.php within your theme’s files. This file controls the header section of your website. You’ll need to:
<head> section) just before the closing </head> tag in the code editor.Be extremely careful when editing theme files. A single misplaced character can break your website. It’s always a good idea to back up your site before making manual code changes. If you’re not confident, stick with the plugin method.
Remember, if you ever update or change your WordPress theme, you’ll likely have to repeat this process because the header.php file might get overwritten. That’s another reason why using a plugin can be so much simpler in the long run.

Alright, so you’ve got your Google Tag Manager account set up and you’re ready to get that code onto your WordPress site. This is where things get a little more hands-on, but don’t worry, it’s totally doable. We’ve got two main pieces of code to deal with, and they need to go in specific spots.
The first snippet is a JavaScript code. Google wants this one placed in the <head> section of every page on your website. This is super important because it’s what gets everything rolling with Tag Manager. If this part is missing or in the wrong place, GTM just won’t work right.
Next up is the second snippet. This one is a bit like a backup or a failsafe. Google recommends putting this code right after the opening <body> tag on your pages. The idea here is that if, for some reason, a user’s JavaScript is turned off, this code can still help things function. While it’s best placed high up, it’ll still work if it’s a bit lower down, like in the footer, though that’s not the ideal spot.
Once you’ve got both snippets pasted into their correct locations – the first in the header and the second right after the body tag – you’re almost done. The final, and I mean final, step is to hit that ‘Save Changes’ button. This locks in all your hard work. After that, Google Tag Manager is officially live on your WordPress site and ready to start tracking.
Okay, so you’ve got Google Tag Manager set up on your WordPress site. That’s awesome! Now comes the fun part: actually using it to track stuff. Think of tags as little pieces of code that tell GTM what information to collect and where to send it. We’re going to walk through creating your very first tag, which is usually connecting Google Analytics.
First things first, log into your Google Tag Manager account. You should see your container listed. Click on it to go to your dashboard. On the left-hand side menu, you’ll see an option for ‘Tags’. Click that, and then you’ll see a big button that says ‘New’. Click that to start building your tag.
Now, GTM is going to ask you what kind of tag you want to create. There are a bunch of options here, like Google Ads, Floodlight, and more. For this tutorial, we’re going to pick ‘Google Analytics: GA4 Configuration’. This is the tag that connects your website to your Google Analytics 4 property. You’ll need your Measurement ID from your GA4 account for this. If you haven’t set up GA4 yet, you’ll need to do that first. You can find your Measurement ID in your Google Analytics Admin section, under Data Streams.
After you’ve told GTM what kind of tag it is and given it the necessary info (like your Measurement ID), you need to tell it when to fire this tag. This is where triggers come in. For a basic Google Analytics tag, you usually want it to fire on every single page of your website. So, you’ll click on the ‘Triggering’ section and select the built-in trigger called ‘All Pages’. This makes sure your analytics data starts collecting from the moment someone lands on your site. Once you’ve configured the tag and the trigger, don’t forget to hit the ‘Save’ button at the top right. You’ve just created your first tag!
Creating tags might seem a bit technical at first, but it’s really just about telling Google Tag Manager what data you want to collect and when you want to collect it. Think of it like setting up instructions for your website.
Here’s a quick rundown of the steps:
So, you’ve got Google Tag Manager set up on your WordPress site. Awesome! Now, let’s talk about linking it with Google Analytics. Think of it like this: Google Analytics is your main dashboard for understanding website traffic, and Google Tag Manager is the tool that lets you customize what data you collect and how you collect it. They work best together.
Before we can connect anything, we need a specific piece of information from your Google Analytics account: the Measurement ID. This is a unique code that tells Google Analytics which website property to send data to. It’s pretty easy to find.
Copy this Measurement ID; you’ll need it in a moment. It’s like the secret handshake between your website and Google Analytics.
Now that you have your Measurement ID, it’s time to create a tag in Google Tag Manager that tells it to send data to Google Analytics. This is where the real customization begins.
This step is super important. If the Measurement ID is incorrect, no data will flow to your Google Analytics account, and all your efforts will be for nothing. Double-check it!
Finally, we need to tell Google Tag Manager when this Google Analytics tag should fire. For basic pageview tracking, we want it to happen on every single page of your website. This is where triggers come in.
After saving, you’ll see your new Google Analytics tag listed. Don’t forget to hit the ‘Publish’ button in Google Tag Manager to make your changes live on your website. Now, Google Analytics should start receiving data from your site, giving you a much clearer picture of your audience.
So, you’ve successfully added Google Tag Manager to your WordPress site. That’s a pretty big step! Now you’ve got a central spot to manage all those tracking codes you might need, whether it’s for analytics, ads, or other marketing tools. It might seem a little technical at first, but once it’s set up, it really simplifies keeping track of how people use your website. You can start adding more specific tracking tags to get a clearer picture of your audience. It’s all about getting the data you need without a headache.
Think of Google Tag Manager as a helpful assistant for your website. It lets you add and manage small pieces of code, called ‘tags,’ without needing to be a coding expert. These tags help you track things like how many people visit your site, what they do, and if they click on certain buttons.
Using Google Tag Manager on WordPress is like having a central control panel for all your tracking tools. Instead of digging into your website’s code every time you want to add or change something, you can do it all from one easy place. This saves time and makes managing your website’s data much simpler.
To begin, you’ll need to create an account on the Google Tag Manager website. Once you’re in, you’ll set up a ‘container’ for your website. This container is where all your tracking codes will live. You’ll also need to accept their terms of service.
After setting up your account, Google Tag Manager will give you two main code snippets. One goes into the ‘header’ section of your website’s code, and the other goes into the ‘body’ section. These snippets are crucial for connecting your website to Google Tag Manager.
There are a couple of ways to add the code. The easiest method is using a special plugin like WPCode, which lets you paste the snippets safely without touching your theme’s files directly. Alternatively, you can manually edit your theme’s header file, but this requires more caution.
Absolutely! Once your Google Tag Manager is set up on WordPress, you can easily create a ‘tag’ within Google Tag Manager to connect it to your Google Analytics account. You’ll need your Google Analytics Measurement ID for this, which you can find in your Google Analytics settings.
© Copyright 2026 F5 Buddy Pvt. Ltd.. All Rights Reserved
 Career
 Woo-Commerce